How-To: Putting a shift boot on your AT shifter sol
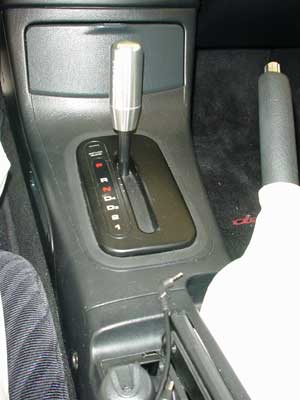
Note: The shift knob seen here is Razo RA-89. ![]() is a brand of car accessories made by Japanese manufacturer Carmate.
It shifts by pushing down on the shift knob to release the shift lock. There
are other "knock-off" brands that make look similar but I've found
the Razo parts to be worth their cost. There are several importers online and
on ebay.
is a brand of car accessories made by Japanese manufacturer Carmate.
It shifts by pushing down on the shift knob to release the shift lock. There
are other "knock-off" brands that make look similar but I've found
the Razo parts to be worth their cost. There are several importers online and
on ebay.
Parts Needed:
Other Tools:
Replace stock shift boot with one from Skinny for AT (extra inch of material) on bracket from shift boot kit (otherwise use stock)
File off about 1/3 of the knobs inside the top ring on the shift boot (so it will fit around the AT shaft)
Remove shift knob
Take out ashtray
Remove 6 screws from the center console
Remove 7th screw from within storage compartment
Carefully lift off the back half of the center console and set it on passenger seat (there are a few wires connected but a decent amount of slack
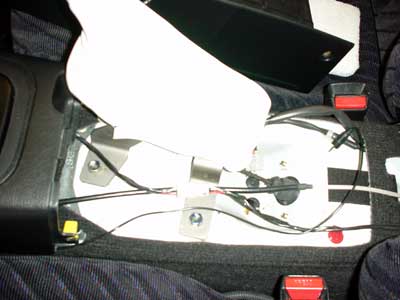
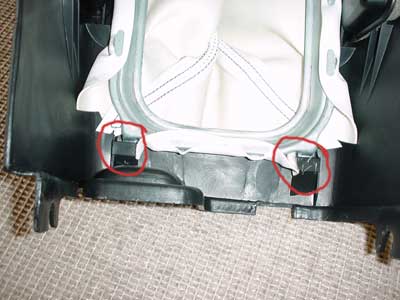
Here is a pic of what you will find under the back console piece. (Prob with less wires some are for my electronics stuff)
Remove the handbrake boot (not needed to do if not replacing it, unless it gets in your way)
Ensure parking break is on :)
Put AT shifter in D1
Carefully remove front half of center console (pull it towards the rear of the car to get front tabs out then pull out on the front sides (by the stereo) just enough to lift the front side out. Then lift it up and off.
Remove the rubber lip from the hole in the console piece.
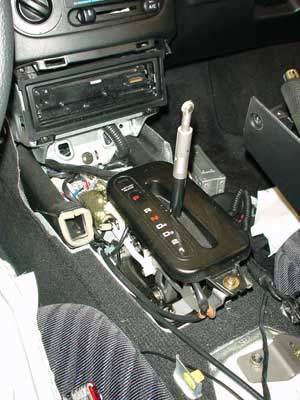
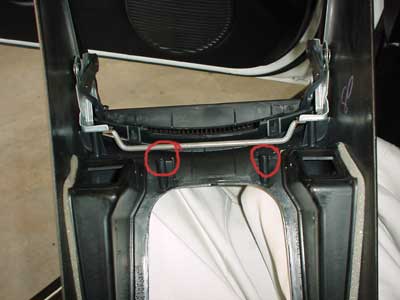
Here is a pic of what you will find under the center console piece.
Unscrew the two screws holding down the AT shift indicator and remove the lightbulb (turn it ¼ turn and it comes right out)

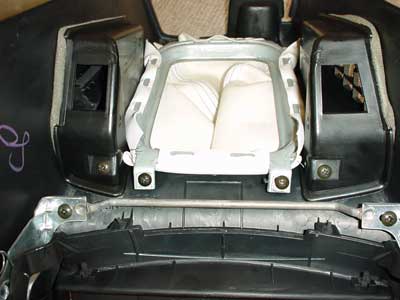
Here it is with everything removed.
Put the bulb and wire somewhere where it won’t be in the way when you reassemble the console. (I bent it back towards the rear so it sits kind of under the seam between the front and rear halves of the center console) It does get very hot when on, so I’m not sure but you may need to be careful where you put it.
Take the shift boot (Attached to bracket) and the front half of the center console somewhere where you can brace it upside down against something and where it won’t be scratched.
Slide the two tabs on one side of the bracket into the slots on the console piece.
These are the two holes that you will screw the front part of the shift boot into.
The other tabs should (with some help) line up with two screw holes. Use the two 4x16 screws and screw them in. (Before tighting them totally be sure the shift boot is exactly how you want it – the lip of the bracket will hold it tightly between it and the hole in the center console.)
Put the center console back opposite of the way you took it out and put the gear shift shaft through the ring at the top of the shift boot.
Replace the handbrake boot
Replace the rear half of the console.
Replace all 7 screws, and your shift knob.
(note you will have to put some force on the middle screws as the bottom of the shift boot bracket hits against the top of the AT shifter assembly, but it flexes easily and looks fine. I think this was just because the shift boot I used was thicker than the stock boot.)
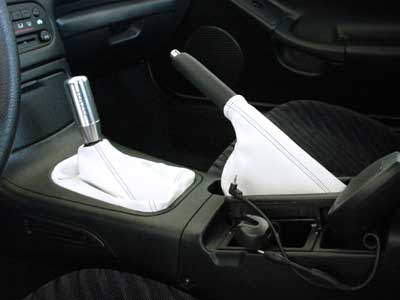
There you have it, stuff the slack of the shift boot down into the console and you’re ready to go.